
Photography must be like frozen time. This should be easy. You point. Click. The memory remains.
But anyone who’s tried to take a decent photo knows that’s a lie. It’s more than just pushing a button. It’s harder than that. Real impact comes from understanding light. It comes from knowing where to stand. It comes from seeing what others walk past.
If you want to stop taking snapshots and start creating lasting images, you need to change the way you see the world. This way you can really improve your photography without buying a new lens.
Зміст
1. Master the light
Light is more than just illumination. It’s the paint you use.
Most people think of light as something that just happens. They are waiting for the sun to shine. They complain that it’s cloudy. That’s amateur behavior. Photographers create and manipulate light.
Natural light is your best friend, but it’s tricky. The “golden hour”, after sunrise or before sunset, gives soft, warm tones. It makes your skin look beautiful. It makes the landscape look dramatic. But what if you’re stuck indoors or at noon? You still have options.
Find the shade. Shadows create depth. Without contrast, your photo will look flat. It looks like a scan and not a photo.
- Side lighting : Highlight textures and shapes.
- Backlighting : Create a silhouette or edge light around the subject.
- ** Overcast days**: Acts as a giant softbox. There are no harsh shadows. Perfect for portraits.
Don’t be afraid of the dark. Low light improves the atmosphere. It deepens the mystery even more. High-key photos (bright, white) feel lighter. Low-key photos (dark, black) creates a strong atmosphere. Choose the mood that suits your story.
Avoid photographing in even, neutral light unless you are photographing a product. Find direction. Light the target from an angle. Watch it fall. Please follow it.
2. Composition is more important than equipment
You can get the camera for $5,000. If the composition is weak, the photo will fail.
Composition is the arrangement of elements in a frame. It’s where you put the subject. It’s what you leave out.
The easiest way to start is with the rule of thirds. Imagine having a tic-tac-toe grid over your image. Place the subject where the lines intersect. Not in the center. The center is boring. It feels static. Being outside the center creates tension. It creates movement.
But don’t blindly follow the rules. Break them when it serves the image.
- Leading lines : Roads, fences, rivers. They draw people’s attention to the subject.
- Framing : Frame the subject using windows, arches or trees. Add context.
- Negative Space : Leave a space. Avoid crowding the frames. The space gives the subject room to breathe. It emphasizes isolation and scale.
Perspective changes everything. Do not take pictures from eye level. Get low. Let’s get high. Lie on the ground. Shoot from a balcony. Seeing the world from different perspectives makes it different.
If you always stand 5’9″ tall and look straight ahead, your photos will look just like everyone else’s. Change your angle.
Light alone can kill or bring a photo to life. This is more than a technical detail, it is an element that determines the spirit of the image. The right lighting directly directs the atmosphere you make the audience feel. No need to wait for cloudy days to avoid harsh shadows; Shadow areas or artificial softeners may work. Avoiding direct sunlight so skin tones look even in portraits is key to getting a face-friendly result.
However, light alone is not enough. How you frame the image determines where the viewer looks.
2. Adjust Framing and Composition
The simple rule when framing is not to have everything in plain sight. The dividing by three rule is the safest harbor to establish visual balance. Instead of sticking your subject right in the middle of the image, place it at intersections. This small shift turns your photo from a straight documentary into a dynamic memoir.
Add elements that will allow the eyes to naturally move around the image. Roads, rivers, or lines of buildings act as guides, directing the viewer towards the main subject. Without these “leading lines” your gaze remains empty.
Don’t neglect the background. A good composition requires not only focusing on the subject in the foreground but also managing the chaos in the background. A cluttered background cancels out the impact of the main subject. Leave distance between foreground, midground and background to create a sense of depth. This layering allows a flat digital display to gain the perception of depth.
3. Exposure and Balanced Settings
If the lighting and framing are complete, it’s time for clarity. Incorrect exposure ruins even the best composition. If the sky is on fire or the shadows have become a block of black, your photo looks like a digital mistake. When you use Backlighting, look at the histogram on your screen. A balanced distribution indicates that you do not experience any loss of detail.
Do not exaggerate the contrast. In original photography, preserving details in the shadows is more important than blowing out highlights. Over-processing causes the photo to lose its authenticity. Instead of making fine adjustments, try to capture the correct settings at the time of shooting. later

Perspective isn’t just about adding depth. It’s about creating an impression. When you change your perspective on the scene you are shooting, it gains dimension even on plain photographic paper. People notice this. They are drawn into the visual, even though they are not conscious of it.
Ways to Create a Sense of Depth
Linear perspective is the most classical method. Lines that appear to be parallel merge as they get further away. This rule always works when working with highways, corridors or building facades. It draws the viewer deeper into the photo. But it alone is not enough.
Alignment (leading lines) is an integral part of this job. Roads, fences, even shadows serve as guides. You direct the eye to the target. The eye stops there. The stage thus appears larger.
Layered perspective is a more complex but effective tactic. Objects are placed in the foreground, middle ground and background. A branch or rock in the foreground adds frame to the scene. This tells the viewer to “look inside”. The background opens a window to that world. This three-layer structure transforms a flat image into a living world.
Angle Games: Looking From Below or Above
Traditional eye level is not always correct. Sometimes you have to prostrate yourself on the ground.
Low angle:
In the past, this was used to turn humans into giants. Today, it makes objects look more magnificent and stronger. Buildings stretch into the sky. People display an authoritarian stance. Vertical lines are strengthened.
High angle:
Even shooting from the phone from above creates this effect. It makes subjects appear smaller, sometimes fragile. In landscape photography, this technique is essential to fit a large landscape. Mountains, sea and sky are gathered in a single frame.
Playing Perspective with Reflections
The surface of the water is like a mirror. Reflection of buildings, trees, or people can add symmetry and complexity to the scene. Especially puddles accumulated after rain are a golden opportunity for street photography. The real world and the reflected world merge. This creates a visual hierarchy that surprises the viewer.
Why do we always have to shoot from a straight angle?
Reflections double the perspective.

4. Check Color and Contrast
If perspective creates depth, color and contrast determine the spirit of that depth. What you see when you look through your camera’s viewfinder is not always the same as what the digital sensor detects. This distinction specifically affects the believability of your visual story.
Color Temperature and Emotion Management
Color temperature is not just an aesthetic choice, it is a psychological trigger. Warm tones (orange, red, yellow) give a feeling of closeness and energy. Cold tones (blue, green, gray) create a feeling of distance and calmness. Increasing the orange tones in the sky in a sunset photo can make the viewer feel like you’re physically pulling them into the scene. On the contrary, making the shadows a little more blue in a cityscape emphasizes the cold, modern and distant nature of that place.
Choosing the right color temperature adds “weather” to your photo. When shooting in sunlight, shooting during the golden hours (near sunrise and sunset) naturally delivers a warm palette. However, in shady areas or cloudy weather, cold tones predominate. This can be corrected with white balance settings in photo editing software, but shooting in RAW format maximizes this flexibility. If you’re working with JPEG, once the white balance is fixed it’s very difficult to get it back.
Contrast: The Factor That Brings the Image to Life
Contrast is the difference between light and dark areas. Low contrast images are soft, dreamy. High contrast images are hard, clear and eye-catching.
Why is it so important? Because the human eye focuses with contrast. Whatever element you want to stand out in a photo, you can direct the contrast by making that element brighter and others in shadow. Especially in portrait photography, the contrast between skin tones and the background highlights the model’s facial features.
There are two main ways to control contrast:
1. At the moment of shooting: Changing the light direction. While side lighting reveals the depth and texture of objects, front lighting reduces contrast and flattens the surface.
2. Instant Editing: Manually adjusting dark and light tones. Slide the “Highlights” and “Shadows” bars,
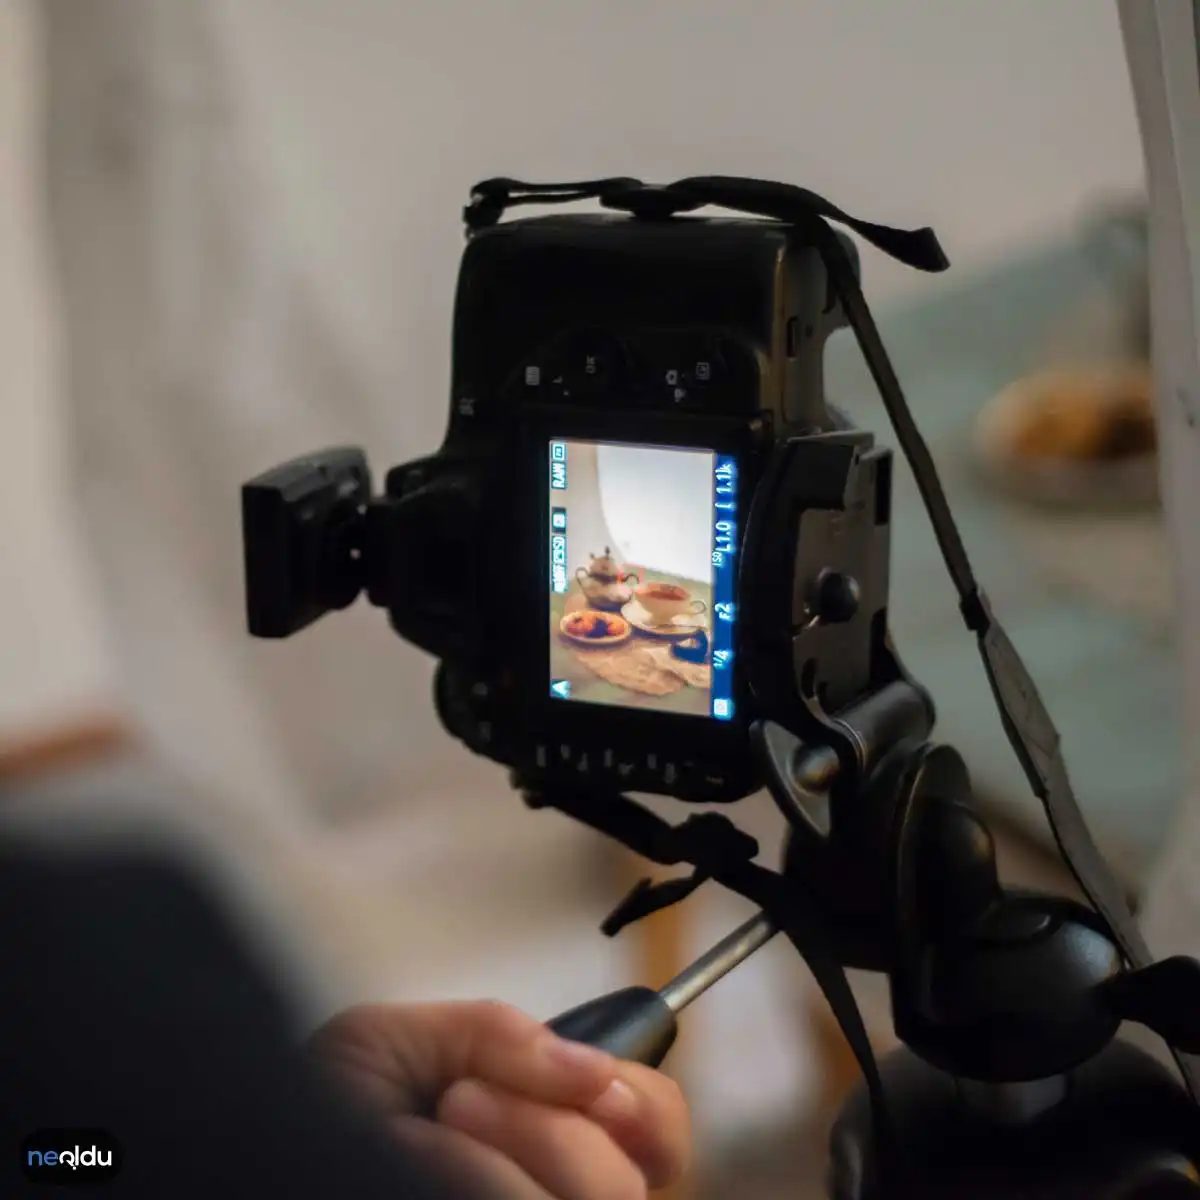
5. Edit and Post-Produce
Matching tones create a soft feel. Contrasting colors attract attention. Achieving this balance determines the soul of the photograph. When you place a yellow flower in front of a blue background, the two colors hit each other. The result is a striking contrast.
This is where editing software comes into play. The post-production process is the completion of the first step, not the last step of shooting. Visualize the color wheel in your mind. Warm tones (red, orange, yellow) radiate energy. Cool tones (blue, green, purple) provide peace. Making these choices in the software is as simple as changing the atmosphere.
Check the saturation level. Too much chickpea color is boring. Pale colors are irrelevant. When making adjustments, focus on how the colors interact with each other. Clarify visual distinction by fine-tuning tone. These details are essential to achieve the desired atmosphere.
But all these processes depend on the quality of the raw material. A good shot means less corrections. But what if you made a mistake?

Post-processing is more than just correcting errors. This is where the real story of your photo is told. You have the raw capture. Then you have to sharpen it, mood it up and make it sing. Software such as Adobe Photoshop and Lightroom are effective for this. They provide tools for adjusting contrast, perspective and sharpness. However, in order to use them, you need to know “what” to move.
Determine exposure
Exposure controls the brightness. It’s simple enough. However, if you do it wrong, you can lose detail in the shadows or ruin the highlights. The goal is balance. I want to check the texture without destroying the black even in the dark. I want the light to shine through without turning into a white void. Adjusting exposure can restore lost data. It brings out the true colors of the objects you photographed.
Process colors
Color sets the mood. A cool blue tint feels different than a warm golden hour glow. You have full control over the color correction, white balance and saturation tools. Maybe the sky is too blue. Maybe the skin tones look orange. You can change the hue or adjust the saturation to make the image more natural or stylized. This is how you turn a flat JPEG into something with depth.
Sharpness and details
Sharpness isn’t just about making things crisp. It’s all about clarity. The software can improve the sharpness of the edges. This feature allows you to take portraits that emphasize the details of the eyes. Use it for landscapes to make every leaf visible. But be careful. Over-sharpening creates artifacts. It looks digital and fake. Find a sweet spot where the details stand out without looking noisy.
Trimming and composition
Sometimes the picture is good, but the framing is wrong. Trimming helps remove distractions. It centers the subject. It changes the aspect ratio for social media or print. Tighten your composition so that your viewer’s eye falls exactly where you want it to. It’s a second chance at framing.
Nature and landscape photography tips
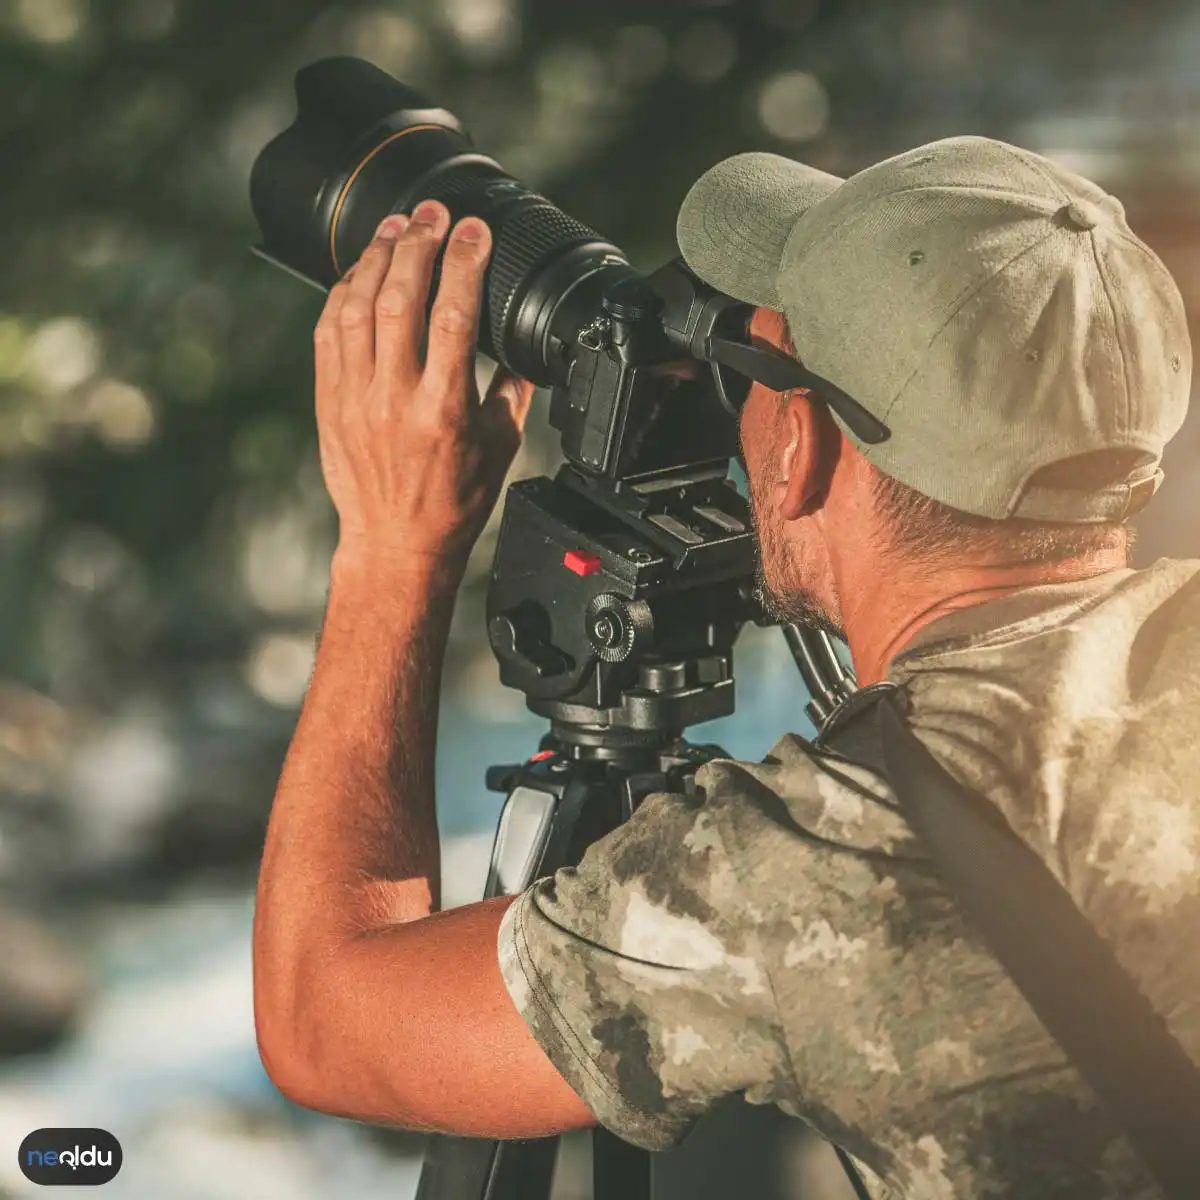
Nature and landscape photography is not just about recording beautiful views. It’s a process that discovers the fascinating details and wide-angle views of nature. You need to develop a strategy to capture those shots that impress people. Here are the cornerstones of this strategy.
About Light and Timing
Light is everything. But the wrong light at the wrong time will tire you. The early morning and late afternoon hours are known as the “golden hours”. The light coming at these times is soft. It makes the colors of nature more vivid and impressive.
What happens when the sun rises or sets? The sky becomes colorful. Long shadows fall. This adds dramatic depth to the landscape. Don’t just settle for midday shots. Chase those critical windows of light.
Composition and Depth
An empty landscape is boring. To increase visual impact, you must know the rules of composition. Rule of thirds is the most basic example.
If you are shooting on the seashore, apply what you think:
* Place the sky in the upper third of the frame.
* Get the water or beach in the lower third.
It is not enough to focus only on horizontal lines. Create depth by adding a foreground element. Use a tree or rock in the foreground. This draws the viewer into the painting and strengthens the perspective.
Choosing the Right Equipment
An expensive body is not necessary, but the right lenses are. Wide angle lens is indispensable for landscape shots. It allows you to fit large areas.
Learn to use a tripod. Your camera should not shake, especially in low light conditions or situations that require long exposures. A tripod ensures clarity.
Filters also come into play.
* Polarizing filters: Reduces reflections and saturates colors.
* Neutral density (ND) filters: Allows you to take longer exposures by filtering the light.
Use these tools to control natural elements.
Capturing Motion
Everything in nature is in motion. Staying still can sometimes be a mistake. Consider the flow of waterfalls. With long exposure, you can make the water look silky and soft.
Grass waving in the wind works the same way. freeze movement
Build trust before you click
A portrait is more than just a face. It’s an extraction of personality. The goal is to remove the stiffness and let the subject’s natural character shine through the lens. But that raw emotion cannot be forced. You have to earn it.
Let’s start with the connection. If the model is nervous, the photo will look stiff. You have to create a place where they feel safe enough, weird, tired or really happy. Chat. Crack a joke. Break the ice. When the subject relaxes, their expression changes from a pose to an “emotion”. This is where the good shots come from.
Chasing the Light
Lighting can make or break a portrait. The strong midday sun can leave unflattering shadows under your eyes and chin. Very aggressive. Washes away skin tone.
Look for soft, natural light. Early mornings and evenings, the so-called golden hours, bring diffused warmth that flatters almost everyone. If you are shooting in bright conditions, look for shade. Don’t fight the sun. It can be used as a backlight or with a reflector to fill harsh shadows. Control the direction of the light and completely changes the mood entirely.
The Background Matters More Than You Think
A cluttered background attracts attention. It distracts. It muddies the narrative.
Keep it simple. A clean and clear background ensures the eyes stay locked on the subject. You can achieve this physically by moving your subject away from a busy walls, or you can get a visual effect by using a wide aperture (low f-stop). This creates a creamy, blurred background effect (often called bokeh) that isolates the subject and adds professional depth to your photos.
Eyes Are the Anchor
In portraits, the eyes are the focal point. They convey emotion before the brain registers the rest of the face.
Ensure those eyes are tack sharp. Prioritize the closest eye, whether you use autofocus points or manual focus. If your eyes are soft, the picture will fail. Period.. Get close. Capture the catchlights in your eyes. Small reflections from light sources add liveliness to the gaze.
Composition and framing
Composition creates structure. Without this, the photo looks random.
The rule of thirds is a starting point, not a rule. Position the subject’s eyes according to the horizontal grid lines above. But don’t stop there. Let’s try some perspective. Shooting from below gives the subject more impact. Shot from above to convey intimacy. Change your perspective and discover new stories in the same frame.
Choose the right equipment
What kind of camera do you need? It depends on where you are in your journey.
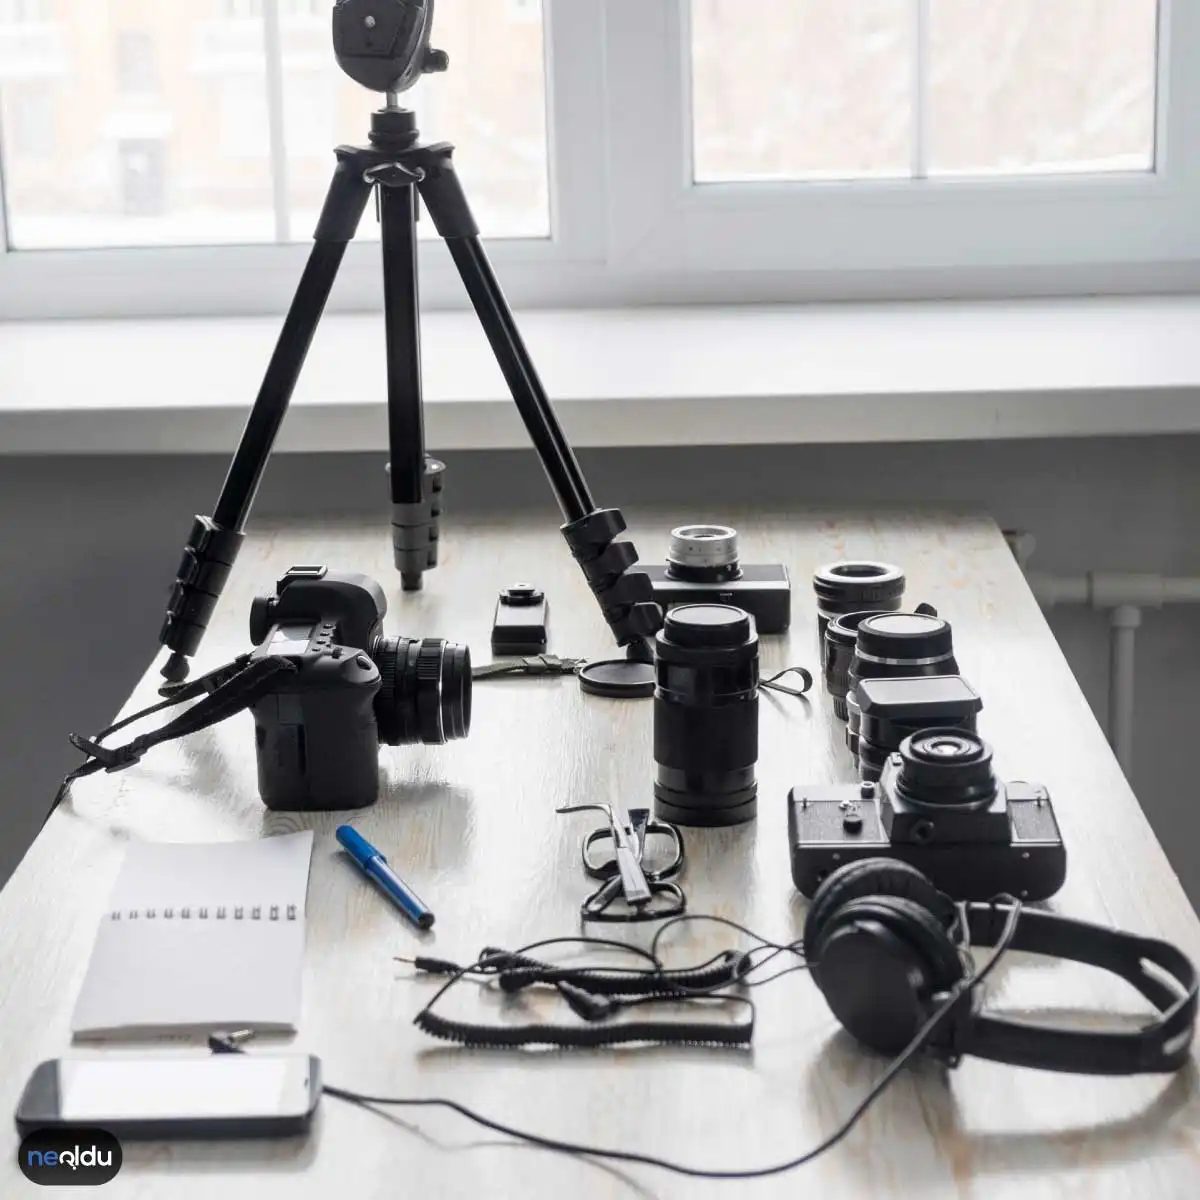
If you’re new to photography, a beginner DSLR or mirrorless camera is a good place to start. These tools cover the basics while learning exposure. Experienced photographers can opt for a full-frame body with a faster autofocus system and better low-light performance. Consider your budget and portability. If you’re just starting out, you don’t need a backpack full of lenses. Start small. Learn the fundamentals. Upgrade when you reach the limits of your current gear.
Improving Lighting Techniques
Lighting is more than just finding the sun. It’s about shaping it.
Use natural light as the primary source. Use a reflector or diffuser when shooting indoors or in overcast conditions. Diffusers can disperse strong light and create a softer, more even spread. Reflectors reflect existing light onto the subject’s face, filling in shadows and adding catchlights. The goal is to avoid flat, direct flashes that can make your skin look oily and your eyes look dead.
Mastering Composition
A good composition guides the viewer’s eye.
Learn the basics like the rule of thirds and leading lines. Use them for balance. Then break them. Experiment with different perspectives to maintain visual interest. You can An interesting background adds context, but make sure it supports the subject rather than competing with it. Pay attention to the space around the subject’s head and shoulders. The negative space is as powerful as the subject itself.
Editing Software Options
Post-processing is part of the workflow. You don’t need to be a Photoshop wizard to enhance your images, but some tools are better than others.
Adobe Lightroom and Photoshop are industry standards. Better control over colors, tones and details. If you’re on a tight budget, GIMP is a powerful free alternative. Online tools like Pixlr are enough for quick editing on the go. Choose the software that suits your skill level and budget. The goal is to improve the image, not destroy its credibility.
Explanations of shooting modes
What mode should I use?
Auto mode is great for capturing moments, but limits your creative control. As you progress, try aperture priority (A or Av). This allows you to control the depth of field (blur the background) while the camera controls the shutter speed. Shutter priority (S or Tv) allows motion to be stopped or blurred. Manual mode (M) gives you full control, but requires a good understanding of the exposure triangle. Try each one. Find spaces that allow you to work faster and think less about settings and more about shooting.
At the end of the day, technology is just a tool. Art is under observation.